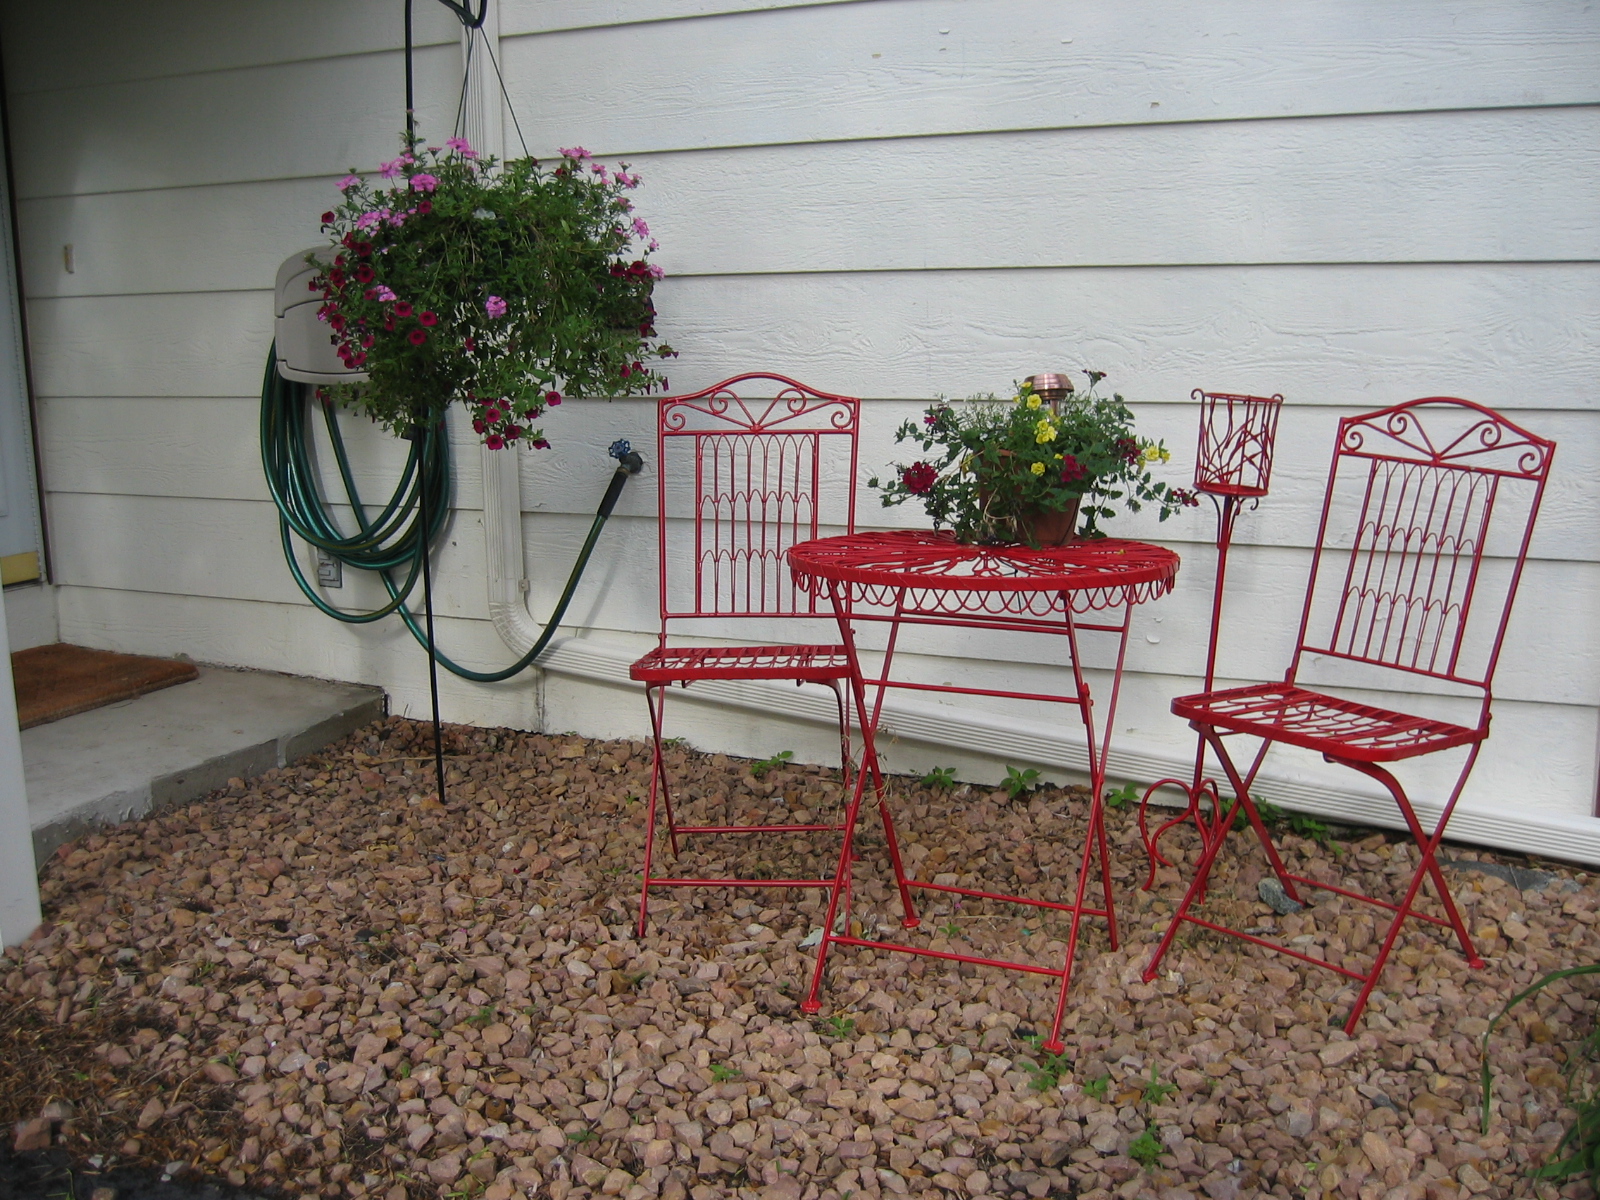
We Finally bit the bullet and added a small patio to our front yard. I have been hating this awkward rock bed in the front of my door since I moved in. It ends up being a huge dumping ground for snow in the winter and weed infested in the summer. Here is a Before picture from when I painted the bistro set last year.
We pulled out most of the rocks a few weeks back and have been living with this mess in our yard and garage due to rain and overall too darn lazy to get started....
The process was pretty straight forward, just terrible work to dig down in an old rock bed 4 inches and rip out the old weed mat.
Once we had a good pattern planned out, we kept one off to the side so we could refer to it easily.
Next step is to lay out and stamp down Paver Leveling Sand, we angled this down a small slope from the house so water would run toward the driveway and away from the house. This keeps any water away from the foundation.
Once we got the sand pretty level next is just to lay out all the pavers
The last steps are to lay out a fine sand called Paver sand over the top using a broom to brush it across the pavers to fill the cracks between the so they don’t shift, then lightly mist water over the pavers.
We had to do this step a few times so sand would fill all the cracks.
So here is the final with our temporary furniture, we want to build a bench with a little table to enjoy the summers with our neighbors.
It took us about six hours and cost less than $300 to complete!
We promptly showered and enjoyed a beer just in time to watch the sunset :)
Happy weekend all!


2 comments:
Looks great guys!
All your hard work paid off, the new area is 100x better than the rocks. I like the unexpected color red for your patio set.
Thank you for "liking" Hirshfield's on Facebook.
Post a Comment